today i am super duper twitchy with a hint of fretting... Our #2 appears to be in the path of Hurricane Irene. i had thought she was not, but then my man confirmed this morning that indeed she is.
so to deal with my twitchy ways (which could go on all day and then i would not have achieved anything at all other than a whole load of twitching and fretting) i thought i would show you my easy peasy how-to for jars brought back from the brink of the recycling bin. then tonight when my man comes home and asks me "Tif, what madness have you been up to today?" i may respond with "a bit of twitching, quite a bit of fretting and then a 'how-do' on glass jammy jars"
so shall we?
indeed such is the easy peasyiness of it, i have not even bothered with 'how-to' pics. i will just list the ingredients, a few steps and some piccies of the little glass lovelies in their 'voila' glory
ingredients:
*different shaped glass jars and their lids ~ if you do not have any then i suggest you look in your fridge or store cupboard and decant the inners, soak off the labels and feed your clan with an exotic offering of jar inners later today
*spray paint which adheres to metal ~ take a looky along the aisles of your craft or DIY center and check what is written on the side of the can. choose happy colours
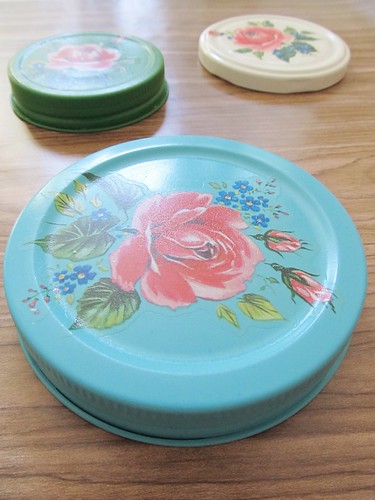
*vintage floral decals ~ i have used Meyercord ones. if you are lucky you may find them in a thrift store or estate sale, but i have never had such luck. therefore i go looking for them in the vintage aisles of Ebay and Etsy. there are some very spiffy ones, i was rather taken with a little lamb i came across once, but alas i could not think of a place to stick a little lambie in Our Shed. i shall wait until i am official Granny material and then buy a vintage lamb decal
*clear gloss spray ~ for the purpose of sealing your decal and making everything look spiffy and shiny.
hey ho, lets go...
the recipe:
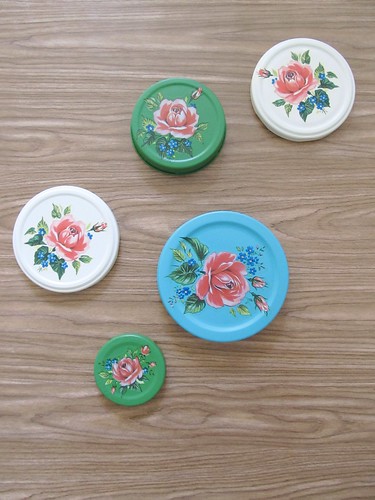
1. take your clean lids and spray paint them with your spiffy coloured spray paint.
2. patiently wait for them to dry, then repeat, and wait again for them to dry.
3. check they are super duper dry, do not be impatient like me or you will be filled with regret.
4. cut out your decals, making sure each one fits its intended lid nicely.
5. follow decal instructions for adhering. basically soak in warm water and then carefully slip it off its backing paper onto the lid.
6. with a soft cloth, dab at your decal, removing any water and old glue from the edges, sometimes because of the age it can be a little too gluey.
7. be careful with your dabbing, the decals are delicate and will slide around.
8. allow to dry, twiddle your thumbs, do not touch your decal. if you must, then be very kind and considerate towards your drying decal.
9. when everything is dry, coat the whole lid in a nice shiny coat of clear gloss spray.
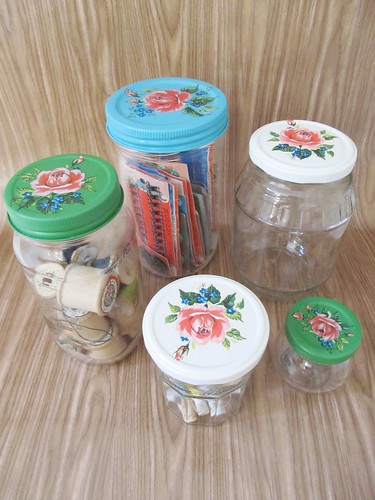
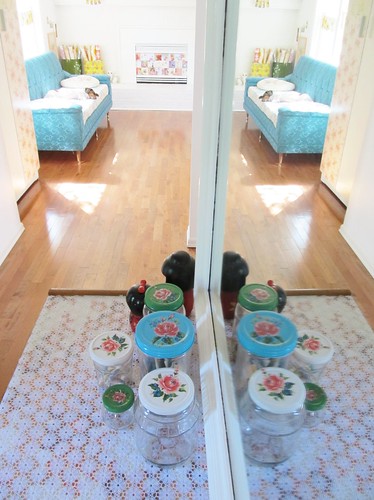
10. and wait again. the wait will be worth it. upon dryness, reunite your spiffy floral jar lids to their glassy bottoms and cluster them together.
11. perhaps fill your jars with pretties. perhaps do not let others use them, perhaps only allow them to be admired from a distance. yes perhaps that would be best.

Mr Postie has just arrived and she is thinking how surreal to think she is a published author ~ Tif
footynote: gold sticky star for "i spy with my little eye something beginning with L O" :)


