dottie angel shared with me
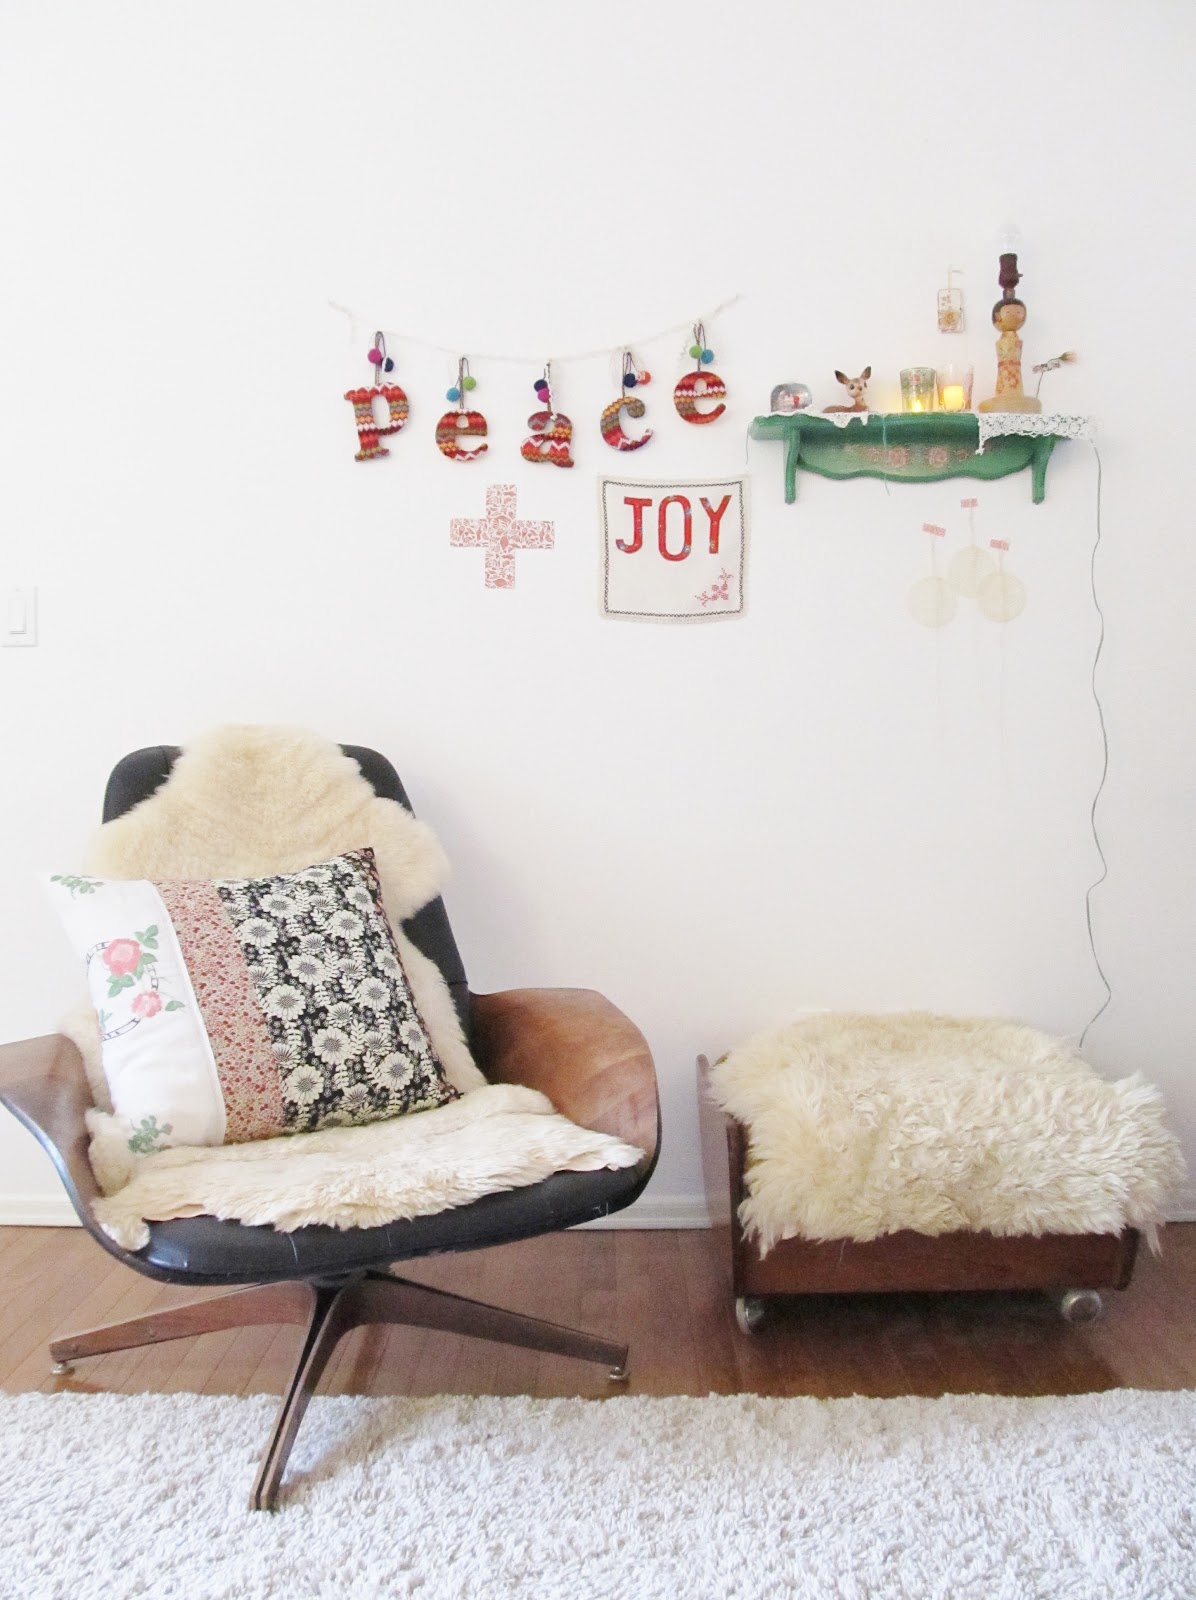
a perfectly patched and pieced pillow-cover
(skill level : medium peasy
but could be easy peasy if you go for the tres basic version)

i do like myself a new pillow cover however its an odd thing, cos here they call it a pillow and over the pond a cushion, i have often found this particular difference in our language a tricky one, do i say pillow or do i say cushion? for the purpose of today though, we will have to go with pillow because it goes nicely with 'perfectly patched and pieced' and i do like a bit of 'nicely'.
envelope back pillow-covers are by far the easiest way of making a cover i believe and if you make it out of one long piece of patched fabric, even more so. you could make this little 'how-to' even more easy peasy, by using one fabric, forgetting about the buttons and loops and literally cut to shape, sew up two sides and voila! it also might be a little noticeable that i have not used obvious 'gleeful' colours, for the very reason i wished to enjoy my new pillow-cover for longer than a few weeks. you could however choose some smashing gleeful fabrics and even go so far as to applique a bit of 'JOY' across the front. i shall leave that entirely up to you.
and just a note, i work in inches, i know that is not the norm for most, so just do what you need to do in cms and ignore my inches.
ingredients:
* fabrics of spiffiness,
my fabrics are a mixture of a vintage table runner, a bottom i chopped of an old ikea blind i had customized once, a lovely bit of liberty (red floral) from my fabby friend Rachelle, of which has been the bases for all my gleeful fabric choices this year, a rather nice laura ashley number and a rather nice black floral one with a spriggy design which reminds me of the frocks i wore in the early 80's. recently i have been attracted to fabrics with black backgrounds and as these are thin on the ground in the vintage department i have gone shopping here
* one pillow insert (cushion pad) of the size you wish to make
* a trusty machine and thread
* a trusty iron and board
* a button or two
* pins and scissors
* something to make little button loops with
* piece of paper and pencil for scribbling notes if need be
recipe:
1. measure your pillow insert, you will need to make a piece of fabric which measures the same height as your pillow, plus 1 inch for seam allowance and then a bit more than 2 and a half times the width of your pillow. write down your measurements less you forget. this is where you can just cut one large piece of fabric or gather together a few favorites and start cutting strips of different widths and stitch together. be sure to press the seams nicely.


you may also wish to have a little think about the position of your fabrics as to when they are wrapped around your pillow insert, basically thinking about where the blocks of fabrics will lay, for want of a better way of saying it.
2. when you have made the correct sized rectangle of fabric for your pillow insert, press and fold in the two short ends and pin. stitch in place with your trusty sewing machine. if you are wishing to add buttons to your finished cover, now is a grand time to add loops. cut the correct length of your loopy bit to fit your button, pin and stitch in place as you hem the shorter ends

3. lay your fabric right side facing up. take one end and fold towards the center of your rectangle, going past the center point. if you have loops, you will need to fold this piece inwards first. then bring over the other end and fold on top. with a tape measure you will need to check you have the exact width of your pillow insert. if it is too small or too wide, then readjust your fabric accordingly. if happy, then pin in place along the top and bottom raw edges and stitch leaving an half inch seam allowance. you may wish to go back over the raw edges with zig zag stitch, but you do not have to.


4. carefully snip your corners before turning right sides out. press with your trusty iron and then attach your button or buttons in the right place for your loops


5. place your pillow insert in your new perfectly 'patched and pieced' pillow-cover and do a bit of plumping


6. find a most fitting place for it to feel at home, make a cup of tea, find another seat opposite your spiffy pillow, sit down and admire your bit of handcrafted goodness
inspiration:
my lovely bit of liberty red floral fabric from my fabby friend Rachelle and a desire to use it in a pillow cover
she is thinking thursday would be a jolly good day for day 5 of joyfulness ~ Tif


